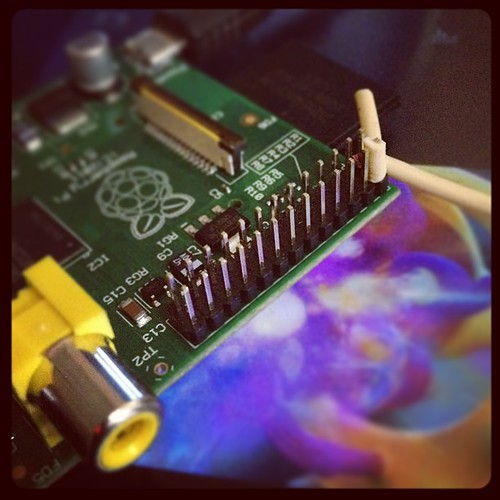
Raspberry Pi GPIO Input Button Basics
When you start hacking Raspberry Pi’s GPIO, first thing to keep in mind is the +3.3V CMOS logic level voltage despite the 5V supply. Secondly, read references about current limiting resistors (eLinux Wiki has a section there). What to avoid then? Try not to physically short the GPIO pin to ground when it is programmed as the opposite output-high.
GPIO pin logic state (meaning voltage) are both programmable and driven by physical-connection. I choose wiringPi for practical reasons: availability of its Python wrapper and its simple syntax (glancing it at first sight). WiringPi has an option of using its own pin numbering to address it in the code instead of the original GPIO numbering (there are board revisions to watch for in some cases of usage, not mine). Every pin can be initialized as input or output.
- main module: WiringPi-Python@9c77bde
- submodule: WiringPi@89bbe97
(Check how to build on my README)
Using an analog multitester, here are behavioral findings:
- GPIO pin voltage swings to high logic after reboot (the meter’s needle is rocking for a second or so). It is in low voltage afterward until being programmed or physically pulled-up.
- Two pins, wiringPi pin 8 and 9, remain in high logic voltage after reboot. They are SDA0 and SCL0 to be used as an I²C, however they can be used to read button as well. (eLinux Wiki: “there are 1.8 k pulls up resistors on the board for these pins”)
- I did short the high logic to ground accidentally, it invoked reboot. (I don’t know how many times or how long of this will brick the Raspberry Pi)
Prior to trying the push-button switch, I didn’t have proper circuitry and working with wires as probes, prone to accident that was. I found an advice to insulate the +5V pin voltage so I could worry less.
A 10k pull-up resistor and a button are enough to test the following. Go to interactive Python shell and run line by line until the button push is read as low logic (GPIO7 in this example):
# python
Python 2.7.3rc2 (default, May  6 2012, 20:02:25)
[GCC 4.6.3] on linux2
Type "help", "copyright", "credits" or "license" for more information.
>>> import wiringpi
>>> import time
>>> INPUT=0
>>> OUTPUT=1
>>> HIGH=1
>>> LOW=0
>>> SETUP=wiringpi.wiringPiSetup()
>>> print SETUP
0
>>> wiringpi.pinMode(7,INPUT)
>>> RESULT=wiringpi.digitalRead(7)
>>> print RESULT
1
>>> RESULT=wiringpi.digitalRead(7)
>>> print RESULT
1
>>> RESULT=wiringpi.digitalRead(7)
>>> print RESULT
0
>>>
These basics convince me to go ahead with my goal of having a membrane (matrix) keypad as input for Raspberry Pi to run some script (see next post).
(Check also RPi common USB problems post)

About
+Arif Kusbandono
Recently
Et Cetera
© logIt. Powered by WordPress using the DePo Skinny Tweaked Theme.